Saturday, August 17, 2013

Part 1: Stripping the Chair

I few days ago, I was wandering around DI (My town's big thrift store) and I stumbled upon this little beauty:

Now, I am a HUGE fan of blue. and Wing-back armchairs. and tufts. and rolled arms. But I am NOT a fan of smelly furniture with cat hair all over it, stains, worn-out fabric, and popcorn in the seat. Also not a big plus when the springs are broken and you sag to a few inches above the floor when you sit. I got all of this and more in this $20 purchase.
I've been wanting to learn how to reupholster for a while now. I read some really detailed blogs that helped so much. This one was by far the best.
But even so, all of the blogs focused on simple reupholstery...Adding a fabric seat to a wooden chair, making a simple fabric bench, things like that. Everything was pretty simple--nothing has as much work to do as this chair, which is maybe why I picked it...I like a challenge, and I wanted something that I would learn as I went along.
So, here's what I've learned so far!
1. Upholstery is about layering. It's about pulling fabric tight, stapling the heck out of it, and hiding your piles of staples with another layer of fabric, brass tacks, or welting.
(that picture looks weird because the chair is laying on its back, and Chris is kneeling on the back ripping out the front. That's why my leg is hanging out in space halfway up the chair.
2. You need to know how a piece is put together to know how to take it apart and reassemble it. I recommend taking a ton of pictures and studying your piece before you rip into it.
3. When you take something apart, you need to start with the final layers--the final things that were placed on to hide the edges. This probably means ripping off some welting or brass tacks first--these things cover exposed staples.
4. As you pull staples out and remove sections of fabric, write what it is, where it goes, how it folds, and what order you removed it in. When you reupholster, you will want to know the order you took it apart in. For example, I took off the brass tacks, the face of the rolled arms, then the front seat panel, then ripped off the four seams that were hidden underneath the chair, which led me to take off the panels on the sides under the arms, then the outside of the wingbacks, then the back of the chair, then the inside of the wingbacks and arms (one piece), then the seat, then the seat back. So, when I put it back together, I will do the seat back, then seat, then insidewingbacks and arms, back of the chair, outside wingbacks, side panels under the arms, front seat panel, face of rolled arms, and finally the brass tacks to cover those last seams. The order matters, because everything is placed to cover up something else, and if you mess it up you will be back to ripping out stapels.
6. Remember or take pictures so you know how something is constructed. If it is a piece of fabric stapled to a cardboard strip to the chair, and then wrapped over, and that's how they hide the seam, take a picture or write it down so you remember how to hide that particular seam next time.
5. Get someone to help. It took me and Chris about 5 hours to strip the chair down to its bones...it would have taken me triple that by myself (Chris is a fast worker, and after building fences all day, sitting on the floor pulling out staples was relaxing for him. And his hands are calloused all over, so he didn't whimper every time he got stabbed by a staple.)
6. Save what you can. Our chair was in pretty bad shape, and smelled, so we threw away all of our batting, cardboard strips, and foam, but we were able to save some nail strips, some interior cording, and brass tacks.
7. Figure out if anything is wrong with the chair, and how you want to fix it. If it smells, throw away the interior. If it is dirty, get some heavy-duty cleaner and scrub the remaining exposed wood. If you hate the dated wooden legs, sand, prime, and paint. If the springs are broken and the seat sags, get new springs, fix the connector for the surviving old ones, and come up with a new method of construction that suits your desire for a soft but firm seat. Our chair had springs, then batting, then foam, then fabric. We are planning on adding some wooden crosspieces for stability, extra foam, extra batting, THEN springs, batting, foam, and fabric.

So, if you are working on ripping apart a chair, I guess I have this to say: every chair is different. Yours might have welting that was glued over some staples, and you can just pull it off to get at them. Or it might have a metal strip of nails hidden under the fabric that doubles as staples and camouflage, and you need to pry it off with a hammer. Figure out how to take it apart piece by piece, take pictures, and remember how to do it for later.

If all goes well, and you stick to it, you should have this in less than a day:
...and a very messy house that is not at all foot-friendly.

Next step: paint, buy fabric & foam, cut patterns and sew joint pieces together

Friday, August 9, 2013

Mason Jar Soap Dispensers

I saw some beautiful blue mason jars at Macy's a few weeks ago and HAD to use them for something. I got some cheap soap dispensers from the dollar store, Chris drilled a few holes in some lids, I went crazy with my black Rustoleum spray paint, and viola! We had 6 colorful soap dispensers.
White looks a LOT better in these jars...I filled 2 with lotion, 1 with dish soap, and 2 with hand soap, using things I already had at home. Unfortunately, the hand soap I had was honey hand soap.
It looks like Chris peed in the jar.
Still, it looks better than the cheap plastic dispensers, and we will buy new soap soon.
I would recommend getting nicer pumps than dollar store ones...we got them because we are cheap, and didn't want to buy expensive soap dispensers only to throw away the bottle and paint the pump. Home depot, Lowes, and Hobby Lobby didn't have just the pump, so we bought some cheapo ones instead...but we've had some problems with them sticking. I think we may upgrade eventually.
The other thing that is nice about these is that they are totally reuseable. We glued the pump to the lid, but the lid unscrews, so we could hypothetically throw away the lids, rinse it out, and drink from it, use it as a vase, or even can with it. I think maybe someday I will get a whole bunch and use them as my drinking glasses, but for now, I love my soap dispensers. :)

Chest of Drawers Reconstruction

 When Chris and I were in New Mexico for his family reunion, we dropped by Hobby Lobby to get some things for his Mom. And I found an absolute treasure. Actually, it was a broken-down mess. It was what was once a beautiful piece of furniture...in pieces. Literally, in 8 splintered pieces. I think someone must have chucked it off the back of a truck, because it was absolutely dominated. The tag said that it was 90% off. We got this chest of drawers for $30 instead of $300. We squashed it into our trunk (next to the chop saw and drill, which for some reason had to come on vacation with us), and drove back to Provo with it a few days later.

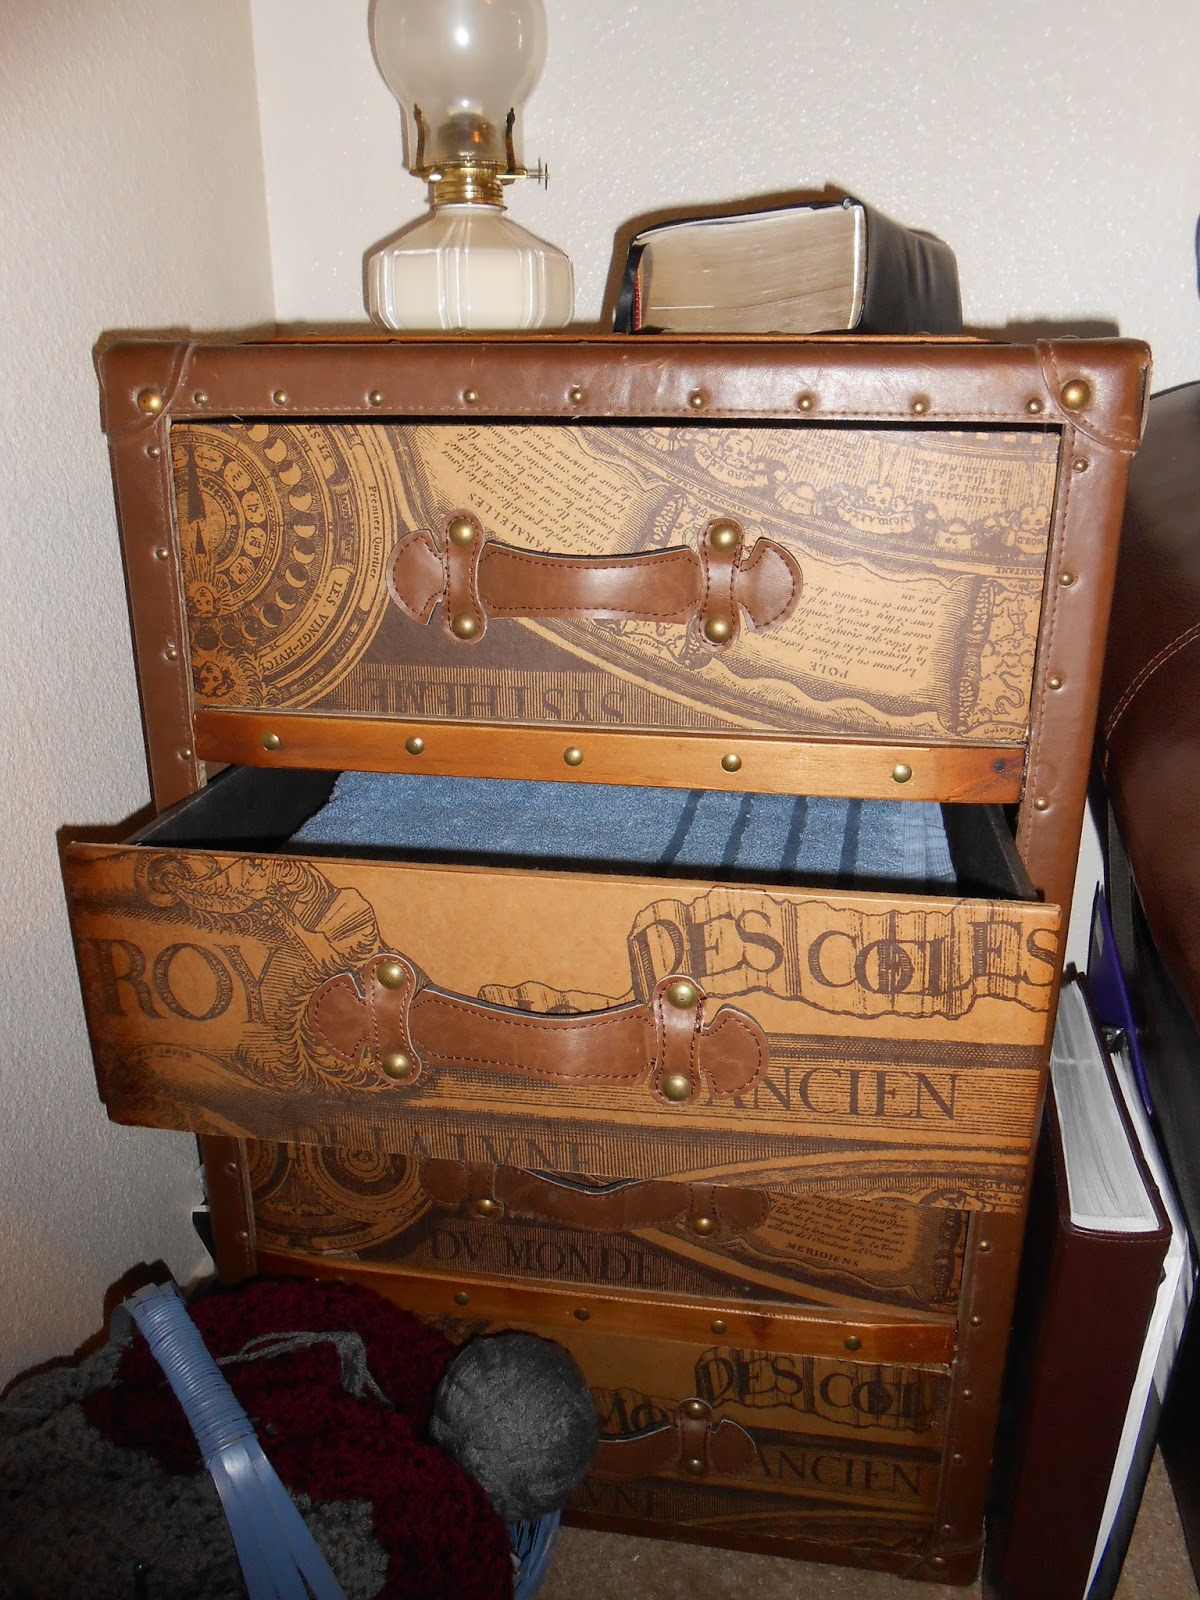
We got home around 9:00, and we were so excited about our new piece of furniture that we put it back together that night. It was pretty simple. The wooden framing that separates the drawers was ripped out, and the interior drawer slides were all broken off, too. All of the drawer faces were separated, and one of them was completely off. It was made very poorly--no glue, no nails, no screws, just staples. (We were amazed they tried to sell it for 300, even intact...it probably cost them around 10 bucks to make!) With a few hours, some wood glue, apoxy, and a pair of pliers, we reconstructed the chest. Here's how it turned out:
 It doubles as a side table and a linen closet...I have all our towels (and some fabric and crafty stuff) organized inside it. I love furniture that has hidden storage!!

I got the lamp at a white elephant last year, and I made the pillows a few months ago with Ruth. (Oops, forgot to blog about that...) Ruth gave me the chevron fabric, and I chose Robert Allen's botanical blue print to accent it. They bring some comfort and color to our drab little apartment.
Ruth is a great sewing buddy...She not only let me use her machine and helped me work out the patterns, but she helped me rip out an entire pillow sham that I'd sewn the wrong way. (I'm hoping that she will someday want to learn how to reupholster with me! I have a dream of getting some cheap thrift store chairs and reupholstering them with dusty-rose floral fabric.)

Pallet Projects

In early spring of this year, Chris and I decided to build some bedside tables. To save money, we bought 10 wooden pallets at $2 apiece, so $20 total. It was a lot of work to take all those nails out, and a lot of the wood was damaged and unusable when we were done (hence the 10 pallets instead of 5). But in the end, we had a HUGE pile of wood...enough to make some insanely awesome paneled rustic nightstands.

 ...Because we were using so many small pieces, we used a LOT of screws. Still, we probably spent less than $15 on 3 or 4 boxes of screws, and had lots leftover.

 The drawer is SUPER NICE. We splurged here and got the nicest drawer hardware Home Depot had...It opens so smoothly and you can pull it all the way to the back of the drawer. Drawer Hardware was about $30 for two. We got the bird drawer-pulls at Hobby Lobby for about $4 each, so $8 total.

Mom and Dad gave Chris a Kreig Jig for his birthday. It was absolutely invaluable in this project...all of the wood was about 3 inches wide, so we had to attach a TON of little pieces to make any kind of surface. You can't see in these photos, but the sides and back of each one are paneled, as well as the top. It took us a lot of time to put these together--used up all of our weekends and free days for about a month and a half. We LOVE them, but we've agreed we would NEVER build these ever ever ever again....it was too much work reusing old pallets and jigging all those tiny pieces. However, it was a good deal...We paid $72 for both of them! (And that would have been closer to $50 if we had done a little work and got free pallets...still, I think the wood was a little better quality and in better shape buying it. Most pallets are hardwood, and the different kinds of woods add some nice character and color to each piece. We decided not to stain them, because we loved the natural color of the wood.

We did have a lot of wood leftover, and we didn't mind doing a few simple follow-up projects with some nicer pieces of wood.
  
 
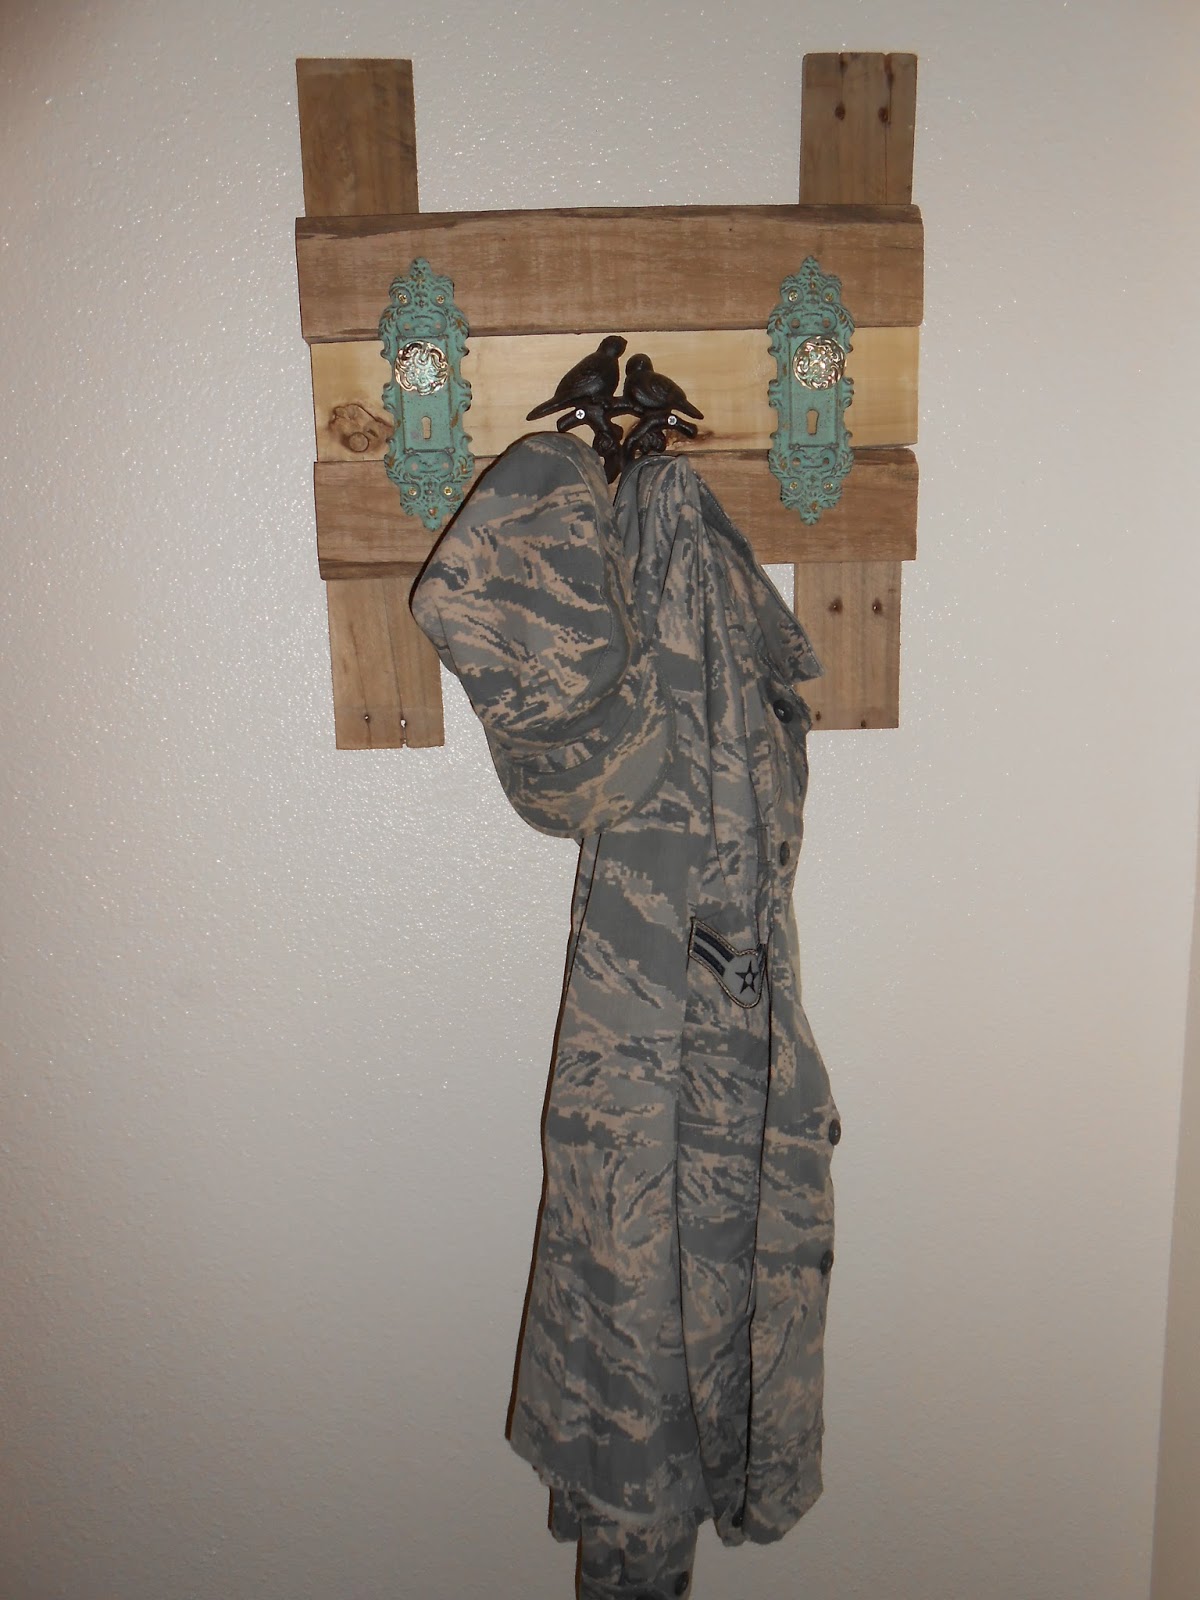
 I actually made this coat hanger by myself!! Chris wasn't even in the shop. It was pretty simple, and we found some pretty hardware that matched the blue birds on our nightstands. Total cost: $15 for hardware from Hobby Lobby.
 It may look a little feminine, but that hasn't stopped Chris from taking it over. He much prefers hooks to hangers or towel racks. ;)
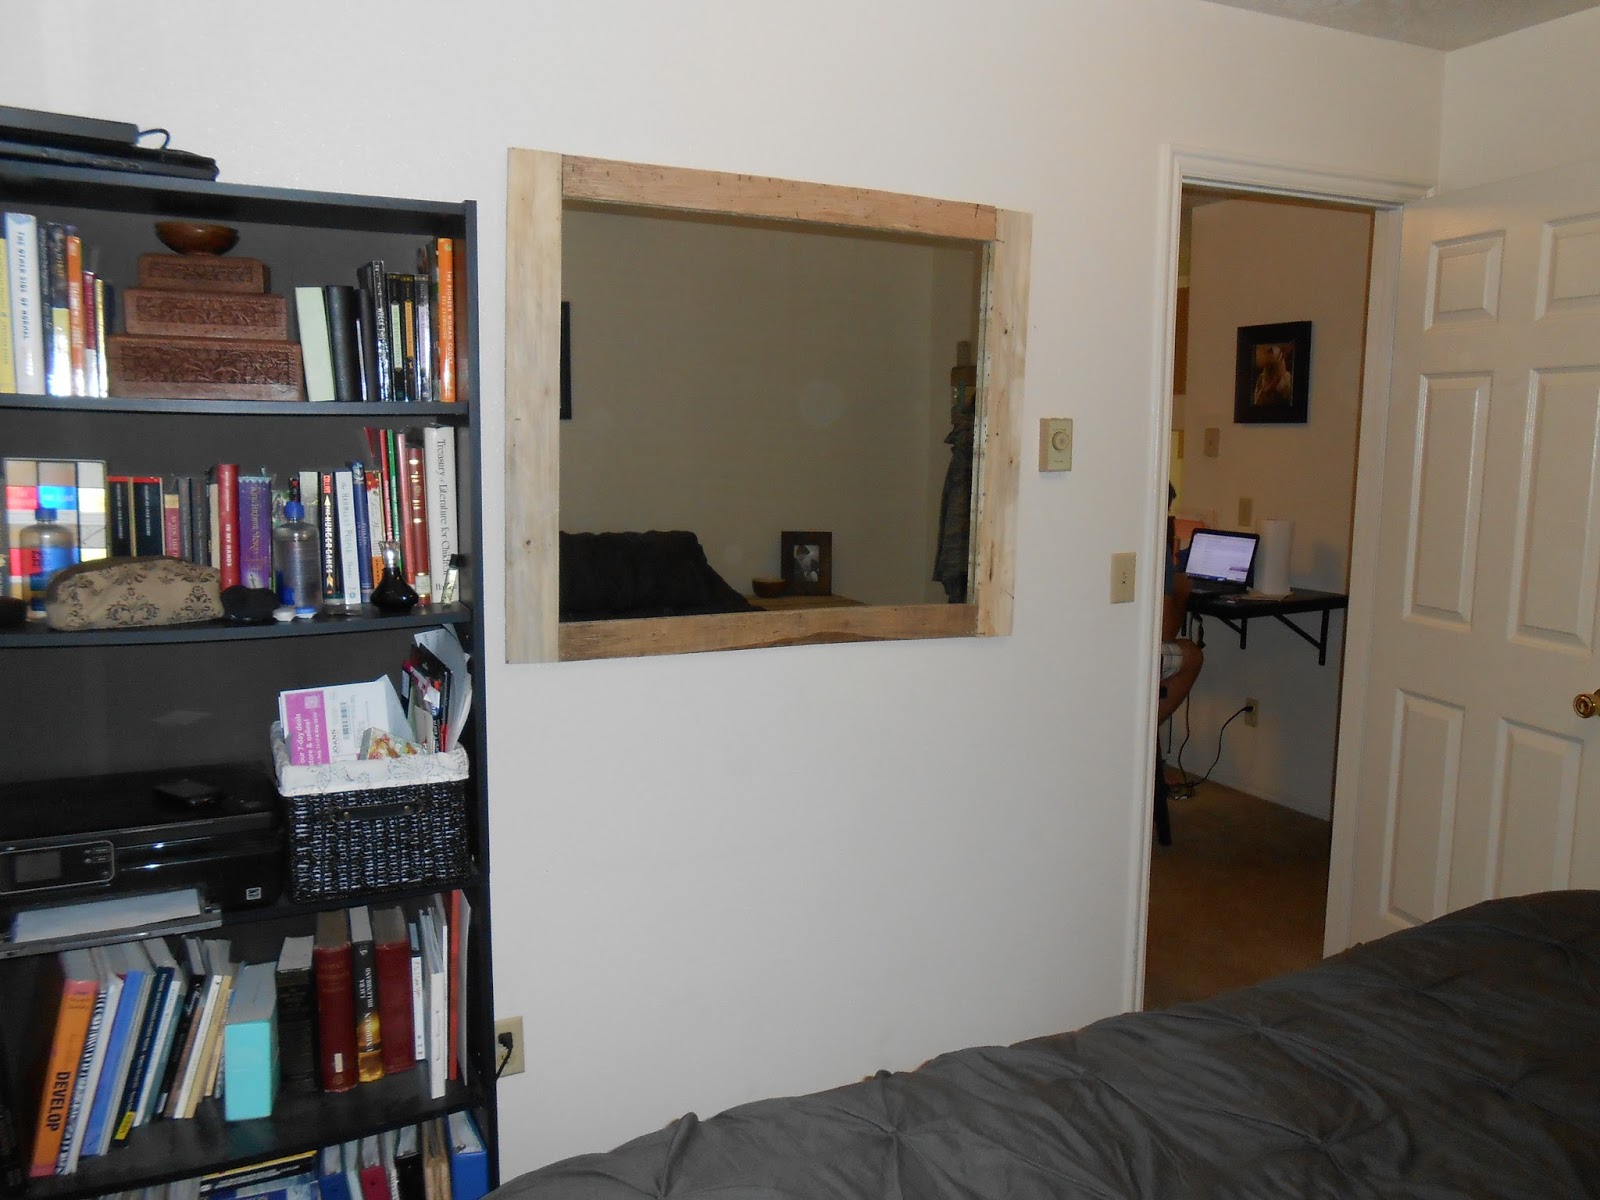
 I couldn't get a good picture of the mirror we made together...so this is the best I've got. It's also made of pallet wood, kreig jigged together and glued with mirror adhesive. Total cost: about $40. Mirrors are MUCH cheaper when you buy the pane from Home Depot and frame it yourself. It's actually pretty huge, this picture makes it look smaller than it really is.
We had some really interesting pieces that we turned into shelves. Again, it's hard to tell, but the edges are curved and uneven, and make it look like the wood just washed up on the beach. We used the Kreig Jig on these, too, so they look like floating shelves.

We thought about making a little headboard for our bed, but decided that we didn't want our house absolutely dominated by pallets. I'm planning on building a tufted white linen headboard, after we finish all the other projects on our list. (I'm redoing my spice cupboard, and we are sanding down our trunk and restaining it next week...and Chris has been doodling sketches for Ruth and Jordan's window bench for a while now. Today he told me he just "stopped by Home Depot really quick" to just "look around at some prefab that matches their wainscoting." I have a feeling that we will be building their bench in the next week or two, as well.)